Graphic Design Path
Get your pencils out, it’s drawing time - changing graphics
In the last guide we learned about animations and added them to the game. Now, it’s time to redesign the game to make it look 1000% cooler.
Drawing pixel art is a skill that takes time and practice to develop, in this guide we won’t be seeing how to draw things. Instead our focus will be on what you could do. For proper guidance about drawing, refer to the further reading articles in the next guide.
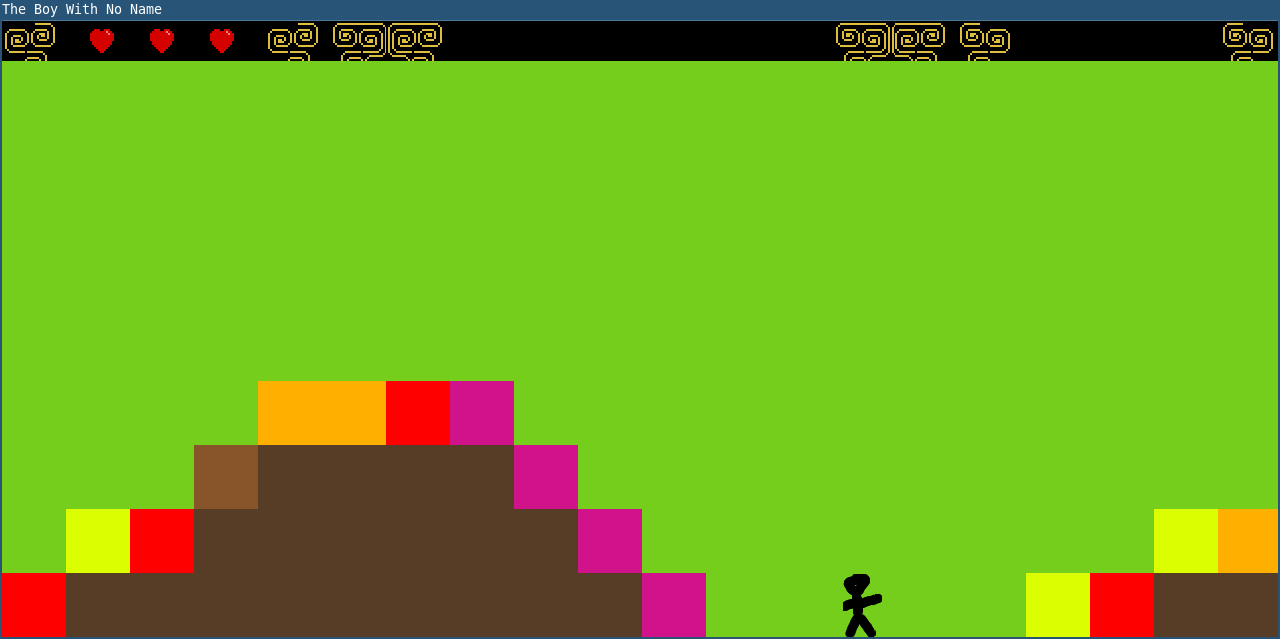
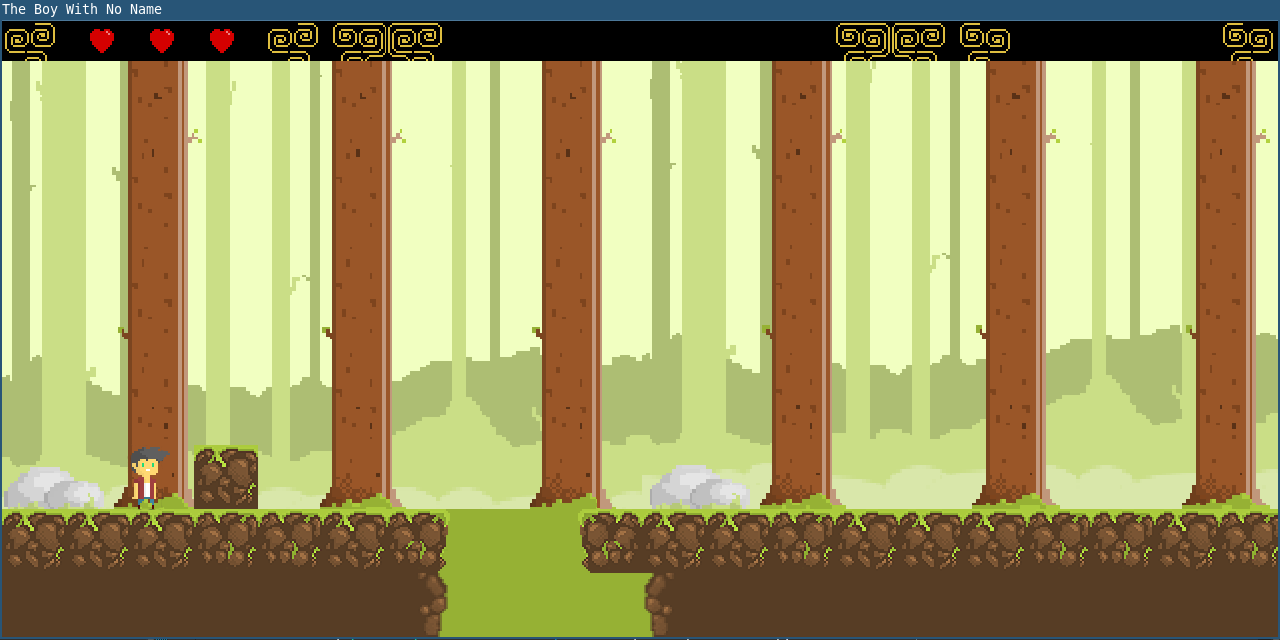
The provided framework game looks a bit like this:
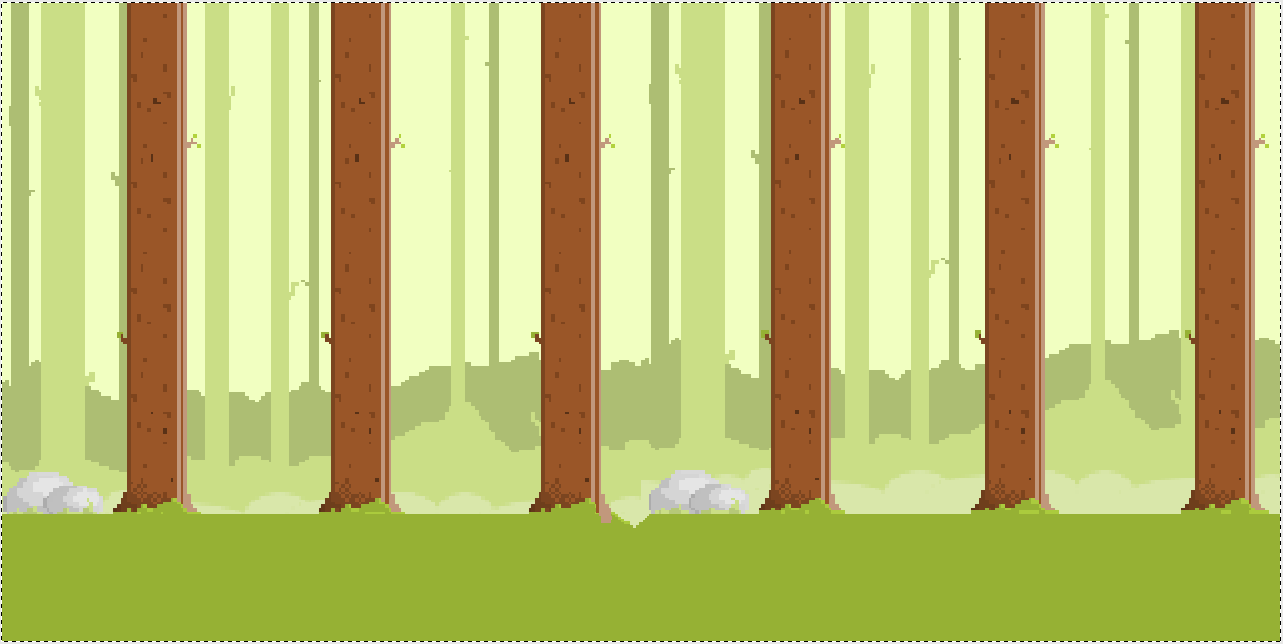
The first thing to change will be the background image. The details of how these are loaded into the game are covered in the guide on world structure in the game design pathway. You might want to take a look there if you are keen to see more code.
Open up a level background image, for example the one in assets/images/background2.png.
It will look something like this:

Now, show off those painting skills and make something awesome, perhaps a little like this?

Or more like this:
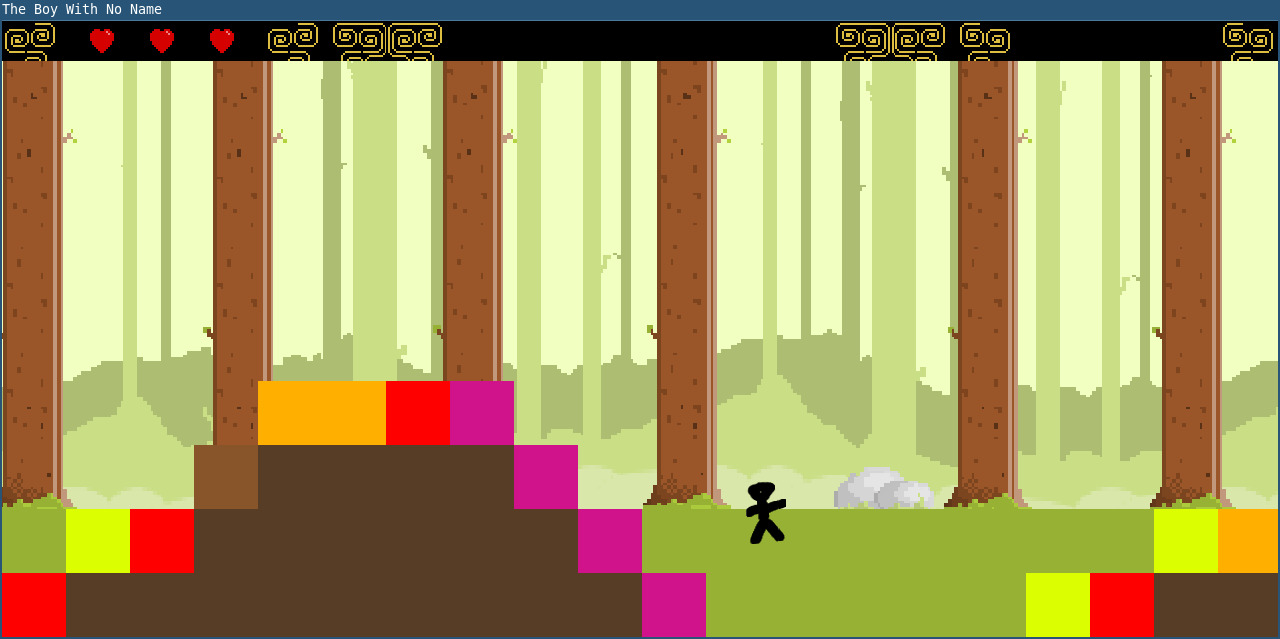
Once you have changed the image, fire up the game and take a look. It might look something like this:
New background, new me! You could just take an image from the internet, but for best projects competition, we will be looking for originality, so own designs are best.
So, you made a new background image for a particular level. You can make more backgrounds for other levels too!
This was cool, let’s do more - changing the rest of game graphics
Alright, now that the game has background images for levels, let’s replace the simple stickman character too.
As we already saw in the previous guide, the starting spritesheet looks like this:
![]()
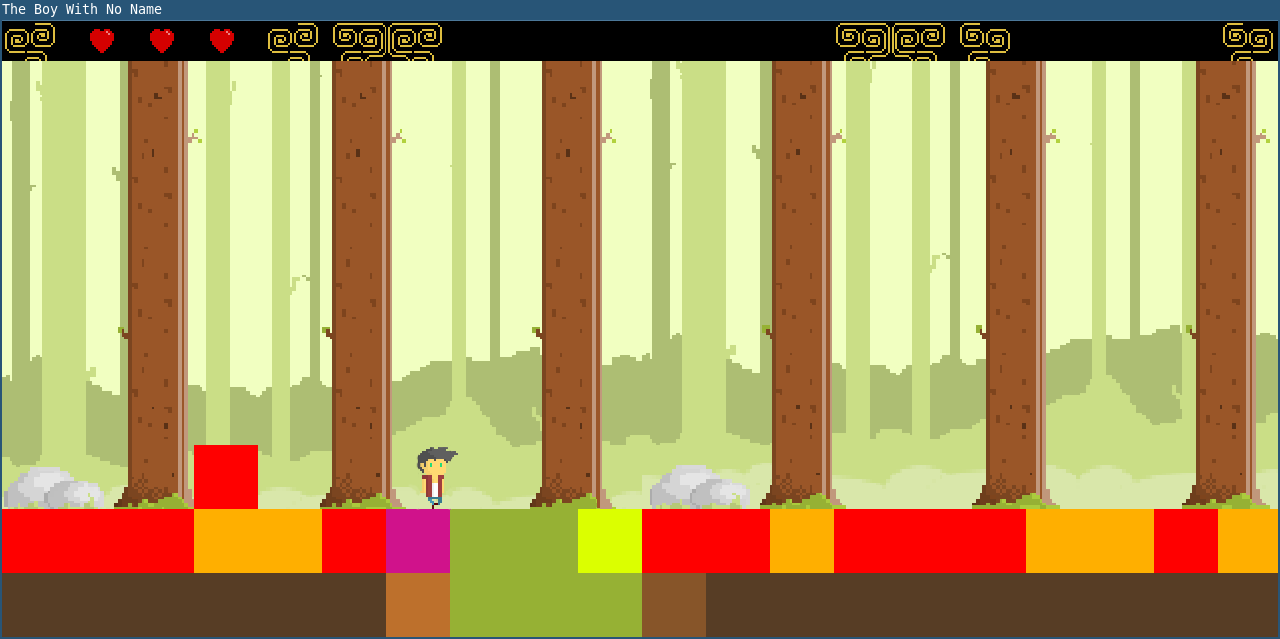
A little skill, a little patience, some work, love and time can help to create something like this:
![]()
Run the game now and see the difference!
Now that the new character is in the game, the tiles are beginning to look very out of place. Let’s give them a retouch too!
You can find the tile images in the /assets/images/ directory, for example, /assets/images/ter0.png.
Replace those with your own art too! Just one thing to be careful about is that the map editor that your game design teammate will use requires that tile images have 32x32 pixel dimensions. This limitation could be overcome, by making one set of tiles for use with the map editor and another with the game itself.
After they’ve been changed, your game might look like this:
Or it might look nothing like it. That’s the brilliant part about creating your own game with this framework - every team’s work will look very different.
The game’s giraffics have been overhauled
Awesome! If you’ve gotten this far, then your game probably looks much better than it did before.
Of course, there is no end to improvement. You may find some good advice about drawing pixel art in this brilliant article: Create a Pixel Art Sprite from Scratch
Without further ado, here’s a portal to the next guide for you:
